
Irresistible Sheet Pan Oven Grilled Cheese Recipe for Busy Days
Melted cheese and crispy bread create a magical moment in this sheet pan oven grilled cheese that promises to revolutionize your sandwich game.
Forget standing over a hot skillet and burning edges with this hands-off method.
One pan does all the heavy lifting, delivering golden-brown perfection for everyone at once.
Busy home cooks adore this technique for its simplicity and consistent results.
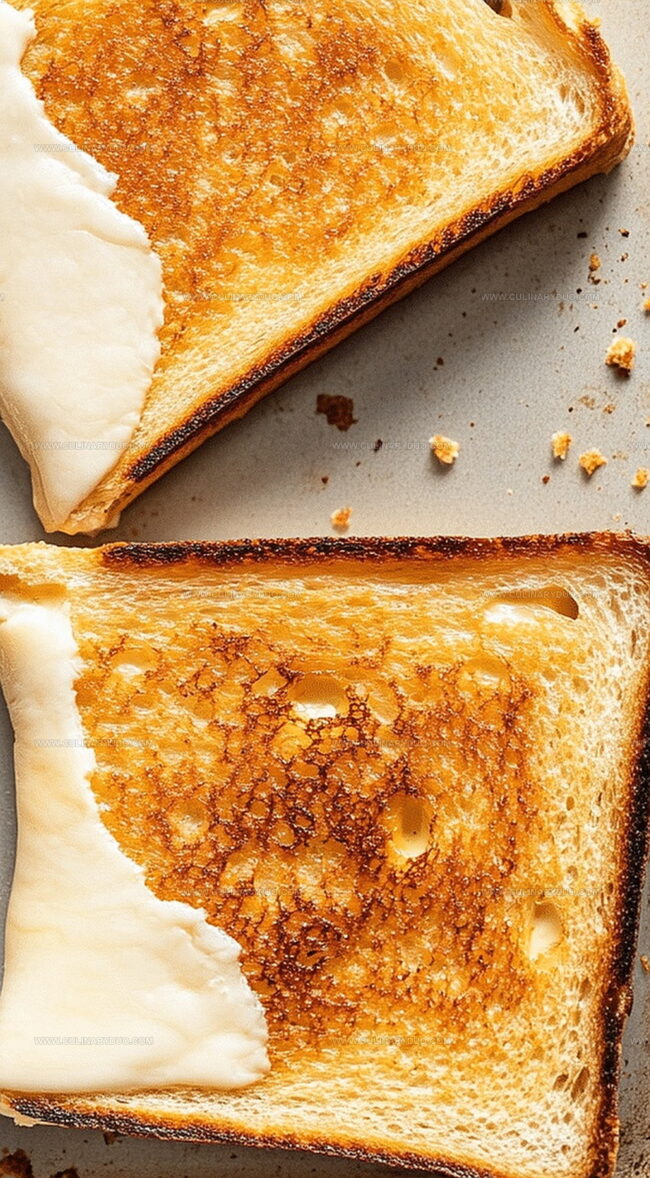
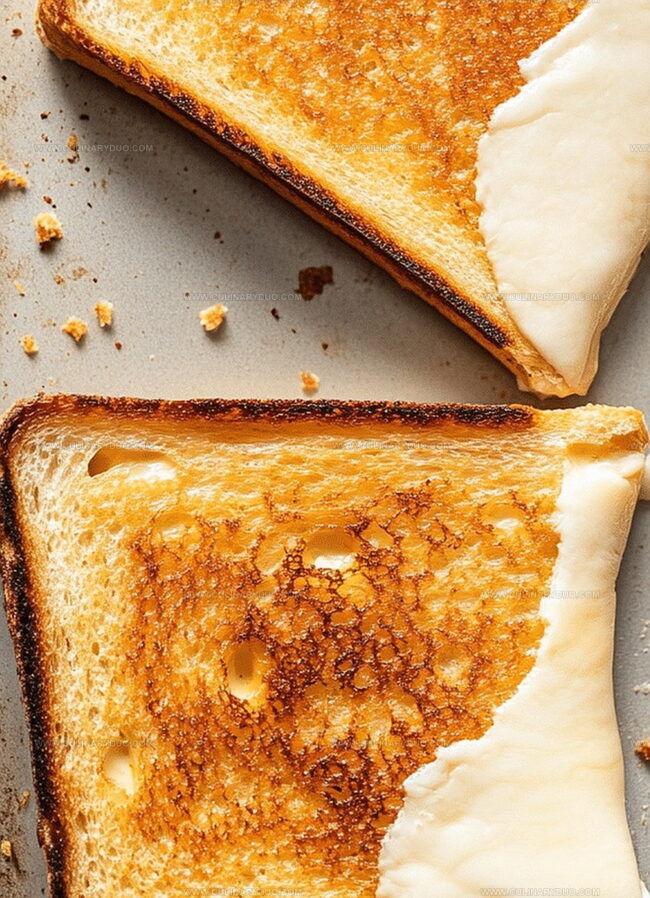
The sheet pan method ensures each sandwich emerges with a perfectly crunchy exterior and gooey, stretchy interior.
Layers of cheese melt into toasty bread, creating a crowd-pleasing comfort food that takes minimal effort.
You’ll love how effortlessly this recipe transforms a classic sandwich into a crowd-feeding masterpiece.
Grilled Cheese Sheet Pan Appeal
What Goes Into Oven Grilled Cheese
Main Ingredients:Preparation Ingredients:Seasoning Ingredients:How to Bake Grilled Cheese Perfection
Step 1: Fire Up The Oven
Crank the oven to a toasty 425°F and get ready for cheesy magic.
Step 2: Butter Your Bread Slices
Generously spread softened butter on one side of each bread slice, creating a golden crispy canvas.
Step 3: Create Cheese Foundation
Place 6 bread slices on a sheet pan with buttered side facing down, forming the base for your grilled cheese adventure.
Step 4: Layer Melty Cheese
Add a slice of cheese on top of each bread slice, preparing for ultimate gooey goodness.
Step 5: Top With Remaining Bread
Crown each cheese slice with another bread slice, ensuring the buttered side faces upward.
Step 6: Press And Compress
Take a second sheet pan and gently press down on the sandwiches, helping them compact and cook evenly.
Step 7: First Baking Round
Slide the sheet pan into the hot oven and bake for 6-8 minutes until edges start turning golden brown.
Step 8: Flip For Perfection
Remove the top pan, carefully flip each sandwich to ensure both sides get crispy and delicious.
Step 9: Final Bake
Return sandwiches to the oven and bake for another 5-7 minutes until they reach maximum crunchiness.
Step 10: Serve And Devour
Transfer the hot, crispy grilled cheese to a plate and enjoy immediately while cheese is melty and bread is crunchy.
Tips for Extra Crispy Grilled Cheese
Grilled Cheese Twists to Try Next
Serving Up Sheet Pan Grilled Cheese
Keeping Grilled Cheese Fresh for Later
FAQs
Yes, you can experiment with various cheeses like cheddar, Swiss, provolone, or a blend of your favorite cheeses for unique flavor combinations.
Choose sturdy bread like sourdough, white, or whole wheat that can hold up to the baking process and provides a crispy exterior.
Lightly grease the sheet pan with cooking spray or use parchment paper to ensure easy removal and prevent sticking.
While best served immediately, you can prepare the sandwiches and refrigerate them briefly before baking, but avoid assembling too far in advance to maintain bread’s texture.
Print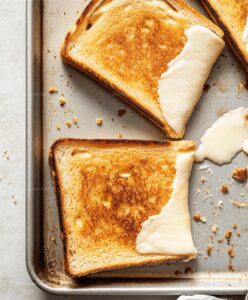
Sheet Pan Oven Grilled Cheese Recipe
- Total Time: 25 minutes
- Yield: 6 1x
Description
Gooey melted cheese meets crispy golden bread in this sheet pan oven grilled cheese masterpiece. Quick comfort food delivers maximum flavor with minimal effort, helping you create a crowd-pleasing meal that brings warmth and satisfaction to your table.
Ingredients
Main Ingredients:
- 12 slices of bread
- 6 slices of cheese (cheddar, American, or your choice)
Binding/Spreading Ingredient:
- 6 tablespoons (90 milliliters) butter, softened
Instructions
- Warm the oven to 425°F, preparing a spacious sheet pan for uniform cooking.
- Generously coat one surface of each bread slice with smooth butter, ensuring complete coverage.
- Position 6 bread slices on the sheet pan with buttered sides facing downward, creating a stable foundation.
- Layer cheese slices directly onto each bread base, covering the entire surface evenly.
- Crown each cheese-topped slice with remaining bread, positioning buttered sides upward for crisp exterior.
- Place a second sheet pan atop the sandwiches, applying gentle, consistent pressure to compress and connect layers.
- Transfer pan to preheated oven, baking for 6-8 minutes until edges start turning golden and cheese begins melting.
- Carefully remove top pan and flip sandwiches using a spatula, exposing uncooked sides.
- Return to oven for additional 5-7 minutes, monitoring until both sides transform into a rich, crunchy golden-brown finish.
- Remove from oven, allow momentary cooling, then slice diagonally and serve immediately while cheese remains gooey and warm.
Notes
- Optimize bread texture by using day-old sourdough or thick-cut artisan bread for extra crunch and better structural integrity.
- Try cheese varieties like sharp cheddar, gruyère, or pepper jack to elevate flavor complexity and create unique taste profiles.
- Prevent burning by monitoring sandwich edges and adjusting oven rack position midway through cooking for consistent golden-brown coloration.
- Enhance nutritional value by adding thin vegetable layers like spinach, tomato, or caramelized onions between cheese slices for added nutrients and depth.
- Prep Time: 10 minutes
- Cook Time: 15 minutes
- Category: Lunch, Dinner, Snacks
- Method: Baking
- Cuisine: American
Nutrition
- Serving Size: 6
- Calories: 375 kcal
- Sugar: 3 g
- Sodium: 630 mg
- Fat: 27 g
- Saturated Fat: 15 g
- Unsaturated Fat: 10 g
- Trans Fat: 0.5 g
- Carbohydrates: 23 g
- Fiber: 1.5 g
- Protein: 11 g
- Cholesterol: 45 mg
Michael Reyes
Founder & Lead Recipe Developer
Expertise
Education
Santa Fe Community College
Michael’s love for cooking runs deep, rooted in the bold, colorful flavors of his New Mexico upbringing.
After earning his Culinary Arts Certificate from Santa Fe Community College, he spent years sharpening his skills in kitchens that celebrated traditional Southwestern and Latin American dishes.
He believes cooking should feel approachable and fun, never complicated. When he’s not stirring up new recipe ideas, Michael’s out hiking scenic trails, chatting with farmers at local markets, or chasing the perfect sunset shot for inspiration.