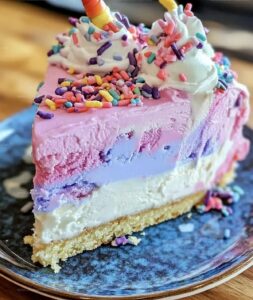
The Sweetest Unicorn Ice Cream Cake Recipe for Magical Parties
Whipping up this ultimate unicorn ice cream cake brings pure magic to your dessert table.
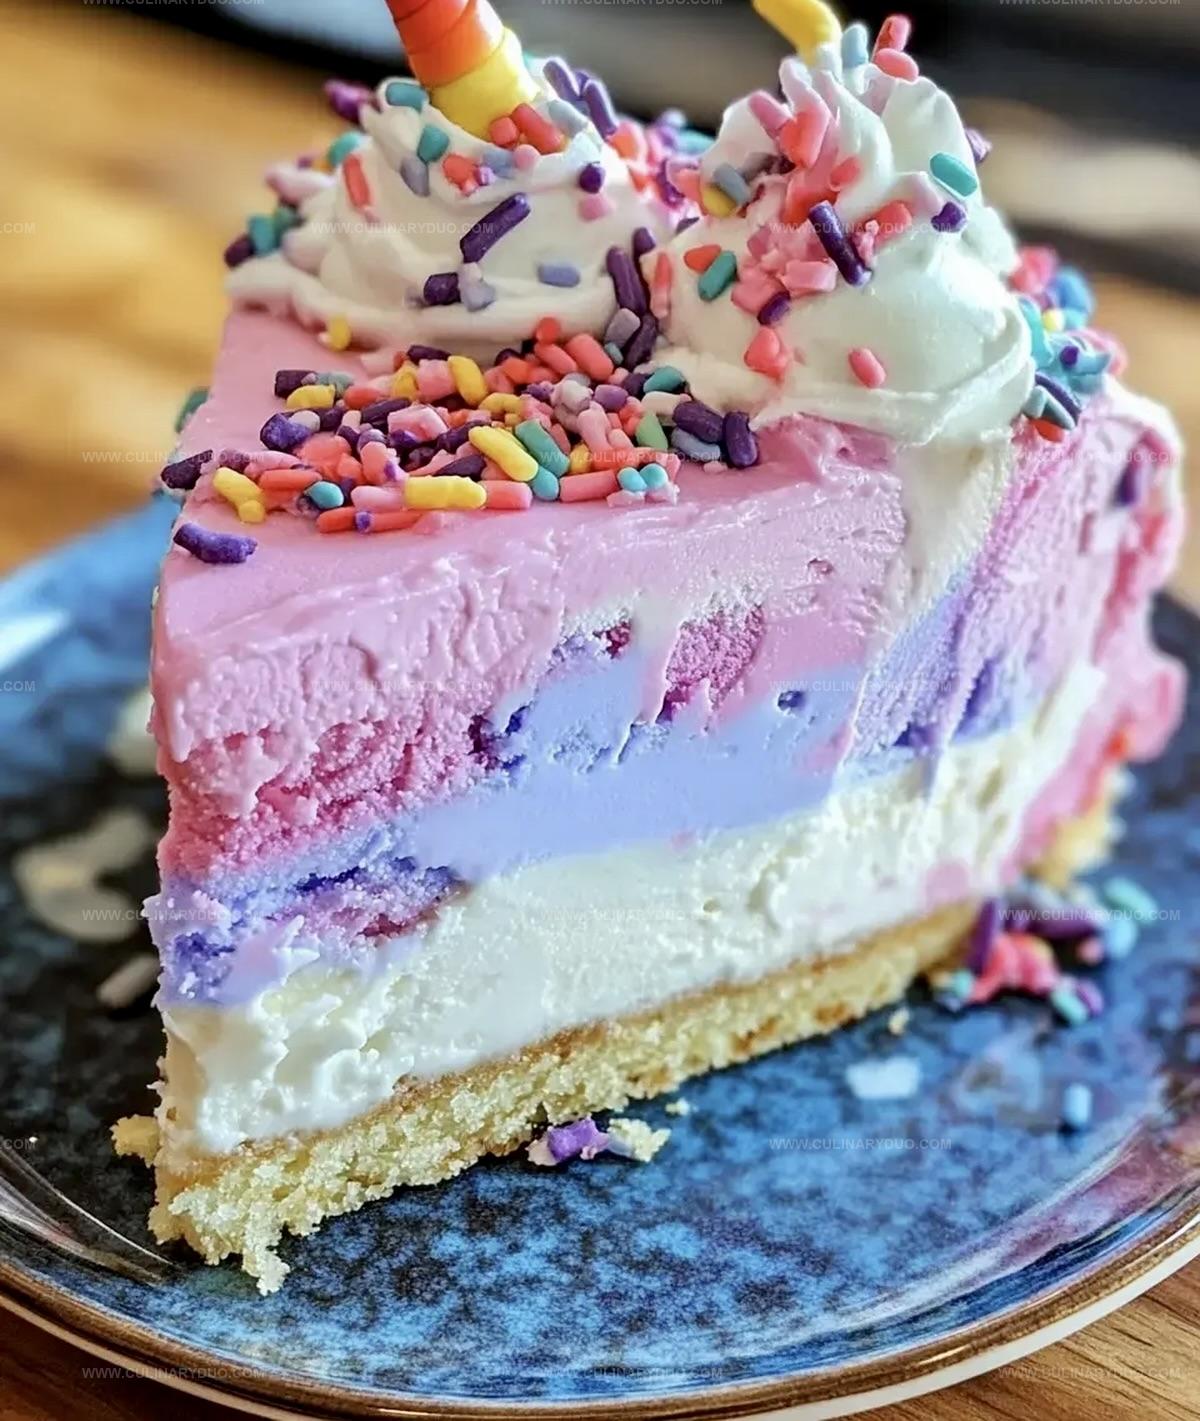
Pastel colors swirl like enchanted dreams through creamy layers of delightful sweetness.
Soft clouds of frosting dance across each slice, promising a whimsical adventure.
Rainbow sprinkles add sparkle and playful charm to every single bite.
Each forkful promises a delectable journey into childhood wonder.
Magical moments await when you slice through these dreamy, delicate layers.
Prepare to fall in love with the most spectacular dessert ever created.
Unicorn Ice Cream Cake Magic
Unicorn Cake Ingredients
Cake Base:Ice Cream Layers:Whipped Cream and Decorations:How To Make Unicorn Ice Cream Cake
Step 1: Bake The Vanilla Base
Grab your favorite vanilla cake mix and follow the package directions.
Pour the batter into a round cake pan and bake until golden.
Let the cake cool completely on a wire rack, dreaming of the magical creation to come.
Step 2: Prepare Dreamy Ice Cream Layers
Pull out your ice cream flavors:Allow the ice creams to soften slightly at room temperature for easy spreading.
Step 3: Build The Cake Tower
Carefully slice the cooled cake horizontally into two even layers.
Place the bottom layer on a freezer-safe serving plate.
Step 4: Spread Strawberry Delight
Generously spread the strawberry ice cream across the first cake layer, creating a smooth, even surface.
Step 5: Add Chocolate Mint Magic
Gently place the second cake layer on top of the strawberry ice cream.
Spread the mint chocolate chip ice cream evenly.
Step 6: Crown With Blueberry Sparkle
Add the final blueberry ice cream layer, smoothing the top to create a perfect canvas.
Pop the cake into the freezer for at least 2 hours to set firmly.
Step 7: Whip Up Magical Cream
In a large mixing bowl, combine:Whip until stiff peaks form.
Divide the cream and add food coloring to create a rainbow of magical hues.
Step 8: Frost With Enchantment
Remove the cake from the freezer.
Cover the entire cake with the colorful whipped cream, creating dreamy swirls and peaks.
Step 9: Sprinkle Unicorn Magic
Decorate your masterpiece with:Step 10: Reveal The Wonderland
Slice this extraordinary cake and watch eyes light up with pure joy and wonder!
Tips For Ultimate Unicorn Cake
Creative Unicorn Cake Variants
Serving Ice Cream Cake
Storing Unicorn Cake
FAQs
Absolutely! A homemade vanilla cake works perfectly and can add a more personal touch to your unicorn ice cream cake.
Work quickly and ensure your cake is completely cool. Keep ice cream slightly softened but not completely melted, and work in a cool kitchen or return to freezer between layers if needed.
No special equipment is required. A standard mixer for whipped cream, cake pan, and freezer are all you’ll need. A piping bag can help with decorative frosting but isn’t mandatory.
Yes! Feel free to use your favorite ice cream flavors. Just keep the color palette and theme consistent for the magical unicorn effect.
Print
Ultimate Unicorn Ice Cream Cake Recipe
- Total Time: 2 hours 30 minutes
- Yield: 12 1x
Description
Magical Unicorn Ice Cream Cake swirls pastel colors into a dreamy dessert that delights both children and adults. Sweet layers of creamy goodness and whimsical decorations promise pure joy when serving this enchanting celebration centerpiece.
Ingredients
Cake Base:
- 1 box vanilla cake mix
- 3 large eggs
- 1 cup (240 milliliters) water
- 1/2 cup (120 milliliters) vegetable oil
Ice Cream Layers:
- 1 pint (473 milliliters) strawberry ice cream (softened)
- 1 pint (473 milliliters) mint chocolate chip ice cream (softened)
- 1 pint (473 milliliters) blueberry ice cream (softened)
Frosting and Decorations:
- 2 cups (480 milliliters) heavy whipping cream
- 1/2 cup (60 grams) powdered sugar
- 1 teaspoon vanilla extract
- Food coloring (various colors)
- Edible glitter
- Sprinkles
- Unicorn cake topper (optional)
Instructions
- Craft the vanilla cake base at 350F (175C), following package guidelines. Cool the cake completely on a wire rack.
- Extract ice cream containers from the freezer, allowing them to soften slightly for seamless layering.
- Slice the cooled cake horizontally into two even layers, positioning the bottom section on a designated serving plate.
- Spread strawberry ice cream uniformly across the first cake layer, ensuring smooth and consistent coverage.
- Carefully position the second cake layer atop the strawberry ice cream, creating a stable foundation.
- Apply mint chocolate chip ice cream evenly over the cake layer, maintaining a level surface.
- Complete the ice cream stack with a final blueberry ice cream layer, smoothing the top with a spatula for a polished appearance.
- Transfer the assembled cake to the freezer, allowing it to solidify for a minimum of 2 hours.
- Whip heavy cream with powdered sugar and vanilla extract until stiff, glossy peaks develop.
- Divide the whipped cream into separate bowls, incorporating different food coloring for vibrant visual appeal.
- Remove the frozen cake from the freezer and enrobe entirely with the multicolored whipped cream, creating elegant swirled patterns.
- Embellish with edible glitter, playful sprinkles, and a whimsical unicorn cake topper.
- Slice and serve the enchanting dessert immediately for maximum magical experience.
Notes
- Choose a high-quality vanilla cake mix for the best texture and flavor foundation.
- Pick premium, creamy ice cream brands that hold their shape well when softened and frozen.
- Allow ice cream to soften just enough for spreading, about 5-10 minutes at room temperature to prevent melting.
- Use an offset spatula or the back of a spoon to create even, clean layers between cake and ice cream.
- Freeze cake between each ice cream layer for 15-20 minutes to maintain structural integrity and prevent mixing.
- Chill mixing bowl and whisk beforehand for faster, fluffier whipped cream with more stable peaks.
- Use gel food coloring for vibrant, pastel unicorn-inspired shades without affecting cream’s consistency.
- Prepare cake up to 3 days in advance, keeping tightly wrapped in the freezer for stress-free entertaining.
- Substitute dairy-free ice cream and gluten-free cake mix for allergies or dietary restrictions.
- Prep Time: 30 minutes
- Cook Time: 2 hours
- Category: Desserts, Snacks
- Method: Baking
- Cuisine: American
Nutrition
- Serving Size: 12
- Calories: 470 kcal
- Sugar: 40 g
- Sodium: 230 mg
- Fat: 27 g
- Saturated Fat: 14 g
- Unsaturated Fat: 12 g
- Trans Fat: 0.5 g
- Carbohydrates: 55 g
- Fiber: 1 g
- Protein: 5 g
- Cholesterol: 75 mg


Michael Reyes
Founder & Lead Recipe Developer
Expertise
Education
Santa Fe Community College
Michael’s love for cooking runs deep, rooted in the bold, colorful flavors of his New Mexico upbringing.
After earning his Culinary Arts Certificate from Santa Fe Community College, he spent years sharpening his skills in kitchens that celebrated traditional Southwestern and Latin American dishes.
He believes cooking should feel approachable and fun, never complicated. When he’s not stirring up new recipe ideas, Michael’s out hiking scenic trails, chatting with farmers at local markets, or chasing the perfect sunset shot for inspiration.