Dreamy White Chocolate Brownie Pizza Recipe For Sweet Tooths
Crafting a delightful white chocolate brownie pizza brings pure culinary magic to your dessert table.
Sweet layers of rich chocolate and creamy toppings create an unexpected twist on traditional treats.
Dessert enthusiasts will adore this playful combination of textures and flavors.
chocolate lovers appreciate how simple ingredients can become something spectacular.
Professional bakers and home cooks alike can master this delectable creation with minimal effort.
Each slice promises a decadent experience that blends the comfort of brownies with the excitement of pizza presentation.
You won’t be able to resist diving into this irresistible sweet sensation.
What’s Wonderful About White Chocolate Brownie Pizza
All You’ll Need For White Chocolate Brownie Pizza
Base Ingredients:Dry Ingredients:Mix-In Ingredients:Simple Steps To Craft Brownie Pizza At Home
Step 1: Warm Up the Oven
Preheat the oven to 350F (175C).
Grab a round pizza pan or baking dish and coat it lightly with cooking spray or butter to prevent sticking.
Step 2: Create a Creamy Base
In a large mixing bowl, melt the butter and combine it with granulated sugar.
Whisk these ingredients until they transform into a smooth, silky mixture.
Step 3: Bring in the Eggs
Add eggs one at a time into the butter-sugar mixture.
Gently stir in vanilla extract, blending everything until well incorporated.
Step 4: Combine Dry Elements
In a separate bowl, whisk together:Slowly fold the dry ingredients into the wet mixture, stirring carefully until just combined.
Avoid overmixing to keep the texture light and fluffy.
Step 5: Add Delightful Extras
Gently fold into the batter:Ensure these goodies are evenly distributed throughout the mixture.
Step 6: Prepare for Baking
Transfer the batter into the prepared pan.
Use a spatula to spread it evenly, creating a smooth surface.
Step 7: Bake to Perfection
Slide the pan into the preheated oven.
Bake for 25-30 minutes.
Check doneness by inserting a toothpick into the center – it should come out clean.
Step 8: Cool and Decorate
Remove from the oven and let the brownie pizza cool completely.
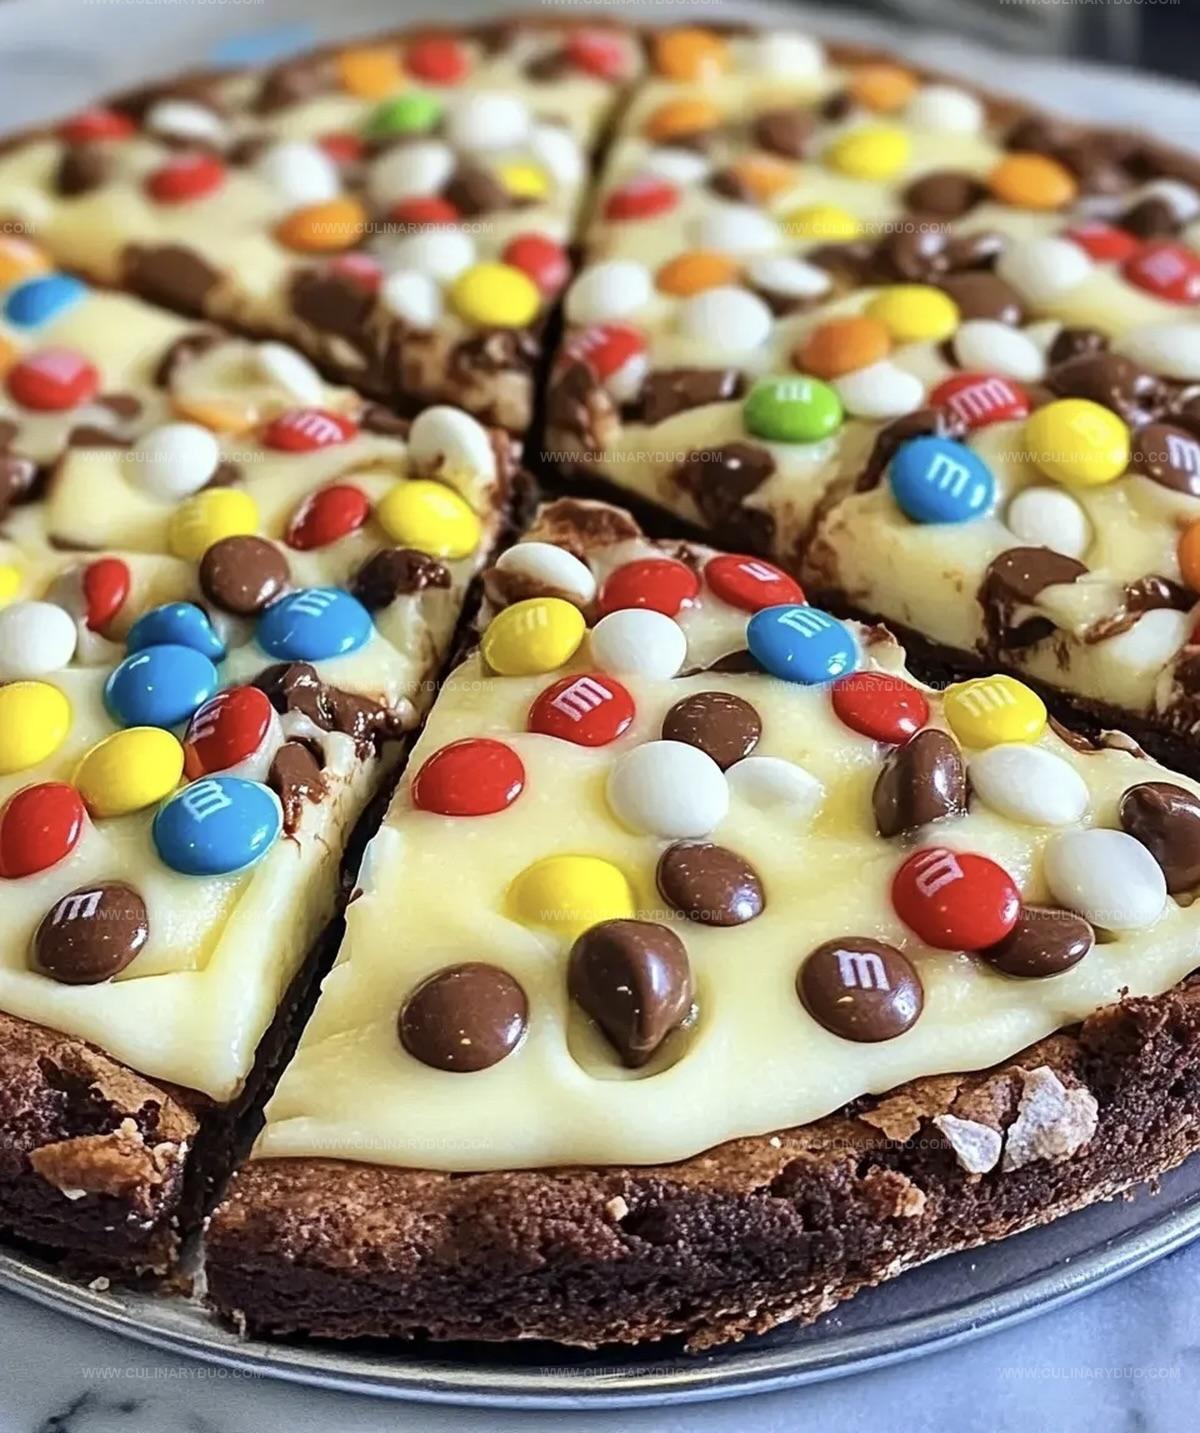
Sprinkle additional M&M’s on top for extra color and crunch.
Step 9: Slice and Serve
Cut into wedge-shaped slices like a pizza.
Serve and enjoy this sweet, chocolatey treat with friends and family!
Expert Suggestions For White Chocolate Brownie Pizza
Fun Flavors To Try With Brownie Pizza
Brownie Pizza Serving Suggestions For Gatherings
How To Keep Brownie Pizza Freshest Overnight
FAQs
White chocolate doesn’t contain cocoa solids, only cocoa butter, sugar, and milk solids, giving it a creamy, sweet flavor without the typical chocolate taste.
Absolutely! You can use any colorful candy like Reese’s Pieces, sprinkles, or chopped nuts to customize your brownie pizza.
Insert a toothpick in the center – if it comes out with a few moist crumbs but not wet batter, it’s done. The edges should also look slightly golden and set.
Print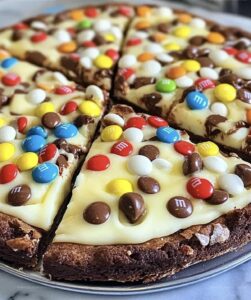
White Chocolate Brownie Pizza Recipe
- Total Time: 45 minutes
- Yield: 12 1x
Description
Indulgent white chocolate brownie pizza delivers a playful dessert fusion that blends classic brownie richness with creative pizza-style presentation. Sweet chocolate drizzles and colorful toppings create a delightful treat perfect for sharing with friends and family.
Ingredients
Main Ingredients:
- 4 large eggs
- 2 cups granulated sugar
- 1 1/2 cups all-purpose flour
- 1 cup unsalted butter, melted
Chocolate and Toppings:
- 1 cup white chocolate chips
- 1 cup M&M’s (plus extra for topping)
Flavor and Seasoning:
- 2 teaspoons vanilla extract
- 1/2 teaspoon salt
Instructions
- Prepare the oven at 350°F (175°C) and coat a round pizza pan with non-stick cooking spray to ensure easy removal.
- In a spacious mixing bowl, melt butter and thoroughly blend with granulated sugar until the mixture becomes smooth and uniform.
- Incorporate eggs individually into the butter-sugar mixture, whisking after each addition. Stir in vanilla extract to enhance the flavor profile.
- Separately, sift together flour and salt to eliminate potential lumps. Gradually integrate the dry ingredients into the wet mixture, stirring gently until just combined to maintain a tender texture.
- Delicately fold white chocolate chips and colorful M&M’s throughout the batter, ensuring even distribution for consistent taste in every bite.
- Transfer the batter to the prepared pan, using a spatula to spread it evenly and create a smooth surface.
- Place in the preheated oven and bake for 25-30 minutes. Check doneness by inserting a toothpick into the center – it should emerge clean with minimal crumbs.
- Remove from oven and allow the brownie pizza to cool completely at room temperature, which helps set the texture.
- Garnish the cooled dessert with additional M&M’s for a vibrant, decorative finish.
- Slice into wedge-shaped pieces and serve, creating a playful dessert that combines brownie richness with pizza-style presentation.
Notes
- Adjust chocolate chip and M&M’s quantities based on personal sweetness preference for a customized treat.
- Swap regular chocolate chips with dairy-free alternatives to create a vegan-friendly dessert option.
- Use parchment paper for easier removal and cleaner cutting of the brownie pizza.
- Try different colorful seasonal M&M’s to make the dessert festive and visually appealing.
- Prep Time: 15 minutes
- Cook Time: 30 minutes
- Category: Desserts, Snacks
- Method: Baking
- Cuisine: American
Nutrition
- Serving Size: 12
- Calories: 370 kcal
- Sugar: 36 g
- Sodium: 105 mg
- Fat: 22 g
- Saturated Fat: 13 g
- Unsaturated Fat: 9 g
- Trans Fat: 0.3 g
- Carbohydrates: 44 g
- Fiber: 1 g
- Protein: 4 g
- Cholesterol: 70 mg
Michael Reyes
Founder & Lead Recipe Developer
Expertise
Education
Santa Fe Community College
Michael’s love for cooking runs deep, rooted in the bold, colorful flavors of his New Mexico upbringing.
After earning his Culinary Arts Certificate from Santa Fe Community College, he spent years sharpening his skills in kitchens that celebrated traditional Southwestern and Latin American dishes.
He believes cooking should feel approachable and fun, never complicated. When he’s not stirring up new recipe ideas, Michael’s out hiking scenic trails, chatting with farmers at local markets, or chasing the perfect sunset shot for inspiration.